Showing posts with label snacks. Show all posts

Monday, October 10, 2011

Sun-Dried Tomato Basil Hummus

There are a few words that spawn thoughts of Birkenstocks, patchoule, and memories of an annual event in my hometown called the Forest Fair. One such word is "hummus." I love hummus.

It wasn't something we ate in my family. Ever. And, I'm pretty sure, though not positive, that my father is mistrustful of it. (Sorry Dad, if I'm wrong!) I know my husband looks at hummus as hippie-food and isn't entirely comfortable turning his back on it... as we all well know, that vegetarian stuff is dangerous. Ha!

I really love hummus. It's such a delicious dipper, a good source of protein, and is delicious plain or with add in flavors.

Given my family history with hummus, I've had to strike out on my own to learn how to make it. Once again, Google is a good friend. The best recipe I've found is actually here on e-how. I use it frequently -- and I haven't played around at all with other recipes, it's just that good.  I have, however, played with all of the different flavors to create different varieties.

Pasilla chile hummus. Chipotle in adobo hummus.

And the latest (and best!), sun-dried tomato and basil hummus.

It's fast, it's easy, and it can be a dip, a sandwich spread and so much more!

Sun-Dried Tomato Basil Hummus
recipe modified from E-How


1 16 oz can of chickpeas or garbanzo beans
1/4 cup liquid from can of chickpeas
juice of 1 lemon (3-4 tablespoons)
1 1/2 tablespoons tahini
4-6 cloves garlic
1/2 teaspoon salt
2 tablespoons olive oil
1 tbsp sun-dried tomatoes
6 basil leaves

Combine all ingredients in a food processor and pulse until you achieve the texture you want.

Place in a serving bowl and enjoy.

Serve.
Enjoy!

Wednesday, September 28, 2011

Blue Cheese & Apple Salad Recipe


They arrive slowly, one thought, followed by another. Followed by a grumble. I start wandering the house. Opening the fridge first, then the freezer. The fridge again. The cabinets. The fridge again. A glass of water.


I have a confession to make.

I'm a late evening snacker. Not a midnight snacker, but about an 8 or 9pm snacker.

I just get the munchies at that time of night. In a serious way.

Take right now, for instance.

Sometimes the glass of water cures me. More often than not, I still want something. We eat a lot of popcorn in our house, sometimes plain, sometimes with flavors like Cheesy BBQ or Cool Ranch. But that wasn't going to suffice this time.

I turned to an old favorite, my blue cheese and apple salad. This is so good. It's so easy too!


Blue Cheese & Apple Salad
1 apple
6-8 basil leaves
blue cheese crumbles
balsamic vinegar

Core the apple and chop roughly. Divide between two bowls. Sprinkle blue cheese crumbles over the top and drizzle with balsamic vinegar. Garnish with basil leaves.

You can substitute pears for the apples, or feta for the blue cheese.

Enjoy.


Miz Helen’s Country Cottage

Tuesday, September 27, 2011

Grandma's Sweet and Tangy Tomato Dressing

Tomatoes.

Are.

The.

Best.

Period!

I'm incredibly jealous of all of you who have been sharing lovely tomato recipes. From your bushels of tomatoes that grow so lovely in your yards. I really really miss going to the Farmers' Market in Colorado Springs and coming home with 25# of tomatoes.

Tomatoes and Alaska are not the best of friends... unless a greenhouse is involved.

With all of the recent tomato bounty posts that have been flying around BlogLand, I did what any jealous self-starting cook would do -- pulled myself up by my bootstraps and made the trip to Costco. Typically my tomato adventures start at Costco. Oh! How I love Costco.

Proudly walking in my front door with a few small containers of tomatoes, the wheels started turning.
 
My grandmother's tomato dressing is simply amazing. Sweet and tangy, with absolutely no nutritional value whatsoever, it's the best thing that happened to tomatoes ever. It's so easy to make too. To call it a tomato dressing is a bit of a misnomer, since there are no tomatoes in the sauce; rather, it's what you put on tomatoes to enjoy!
 
I've also found that it's quite stunning on baked breaded chicken. Stunning.
 
Eating the dressing on tomatoes is really the best part though. Really. It will make your taste buds sing.

And your tomatoes will disappear.

A bowlful of  delicious dressing with some gorgeous
yellow heirloom tomatoes. MMMMM.


Grandma's Sweet & Tangy Tomato Dressing
 
4 teaspoons French's prepared mustard (the yellow stuff)
4 Tablespoons sugar
2 Tablespoons white vinegar
2/3 cup vegetable oil
dash of salt
dash of paprika
 
Mix sugar, salt, paprika and mustard in blender. Add vinegar. Turn on blender. Add oil slowly, one tip of the measuring cup at a time (about 10 small blips of the cup). Beat until mixture is thickened to your preference.
 
Serve immediately or refrigerate and serve.

Thursday, September 22, 2011

BBQ Chicken Pizza Recipe

Every week, I try to participate in a few recipe hops. When I'm not cooking very much, this is harder to do than at other times. I always find so much inspiration in these hops... of course one of my favorites is my own Friday Potluck.

My favorite hop hosted by someone else is Full Plate Thursday over at Miz Helen's Country Cottage. There are always fantastic recipes, and a great variety of bloggers to be found each week at Miz Helen's place.

A few weeks ago, on September 8, I found a great BBQ Chicken Pizza recipe. Since I still had leftover pizza crusts from my DIY pizza party, in which I trotted out my new Red Star Yeast for this month's Iron Chef Challenge over at A Latte with Ott, A, I figured I'd hit pay dirt with this recipe.

And boy! was I right!

BBQ Chicken Pizza
modified from BBQ Chicken Pie @ 4 Little Fergusons

2  8"-10" pizza crusts or dough (my recipe or yours)
1-2 chicken breasts
1/2 cup bbq sauce
2 small green onions, diced
1-1/2 cups cheddar cheese, shredded
1/2 cup mozzarella cheese, shredded
tomatoes, sliced

I like to work with pre-cooked pizza crusts since it really cuts down the cooking time of the pizzas, and because it's nice to work with existing ingredients. I like to grill my pizza crusts; they then last for about 1-2 weeks in the fridge. However, if you have fresh dough, then you can still use this recipe.

Cook and shred the chicken breasts; I seasoned mine with garlic and rosemary and then broiled on high. Mix the shredded chicken with all but 2 tablespoons of the green onions and barbecue sauce. Spread across the pizza crusts.

Split the cheddar cheese between the two pies and then top with the tomatoes. Finally, top the pizzas with mozzarella.


Cook under broiler for 5-10 minutes until cheese is melted and bubbly.

Enjoy!

Linking this with


Miz Helen’s Country Cottage

Friday, September 16, 2011

Grilled Pizza Crust Recipe: Red Star Iron Chef Challenge


BBQ Chicken Pizza
When Ott, A of A Latte with Ott A emailed me last month to invite me to participate in September's Iron Chef Challenge, I was super excited. When I learned that this month's sponsor is Red Star yeast, I was even more excited - this is finally an opportunity for me to make something bread-y... and get over my incompetence fear of baking.

Photobucket
I'm proud to announce to the world that I have successfully conquered pizza dough!

(Does the word "conquering" imply success? In which case I'd have a doubly successful attempt at pizza dough. I'll take what I can get!)
We had been planning to have friends over for Labor Day weekend, so a DIY Grilled Pizza Party sounded as though it would be right up our alley. And it was SOOOOO good.

I'd first read about a DIY Grilled Pizza Party as a fun alternative to a backyard cookout over at Gourmet Meals for Less, from the wonderful Heather, who is now one of the lovely sisters behind At The Picket Fence. And a FANTASTIC party idea it was!

Ultimately though, since we used the grill for these babies, I haven't yet conquered baking... technically. :)

I took the original recipe and ditched it by making three variations on the dough (garlic rosemary, basil, and pizza seasoning).

Best Ever (and Easiest) Pizza Dough (Grilled)
adapted from finecooking.com

1 package (2-1/4 tsp.) active-dry Red Star yeast
1-1/2 cups very warm water (110°F)
18 oz. (4 cups) all-purpose flour; more for dusting
1-1/2 tsp. salt
2 Tbsp. olive oil  
2 tsp (up to 1 Tbsp) seasoning of your choice (optional)

Mix your yeast and warm water and set aside. Pulse the flour and salt and seasoning in a food processor until mixed well, then slowly add in the water/yeast mixture, followed by the olive oil.

Continue mixing until a big giant ball forms in your food processor. Remove ball and place on lightly floured surface and divide into 6 smaller balls.


Place on cookie sheet or in baking dish and cover, allowing to double in size. 
Isn't this ribbon shaped pan fun?
I made K a yellow ribbon cake last year.
On a lightly floured surface, roll out the individual balls into thin disks; these should be ~8-10" in diameter. 

To cook, warm up the grill and set to medium heat. Brush a thin layer of olive oil on one side and set on the grill; thinly coat the second side with olive oil and wait until bubbles form or until a light brown color appears (about 1-2 minutes). Then flip and cook for another 90 seconds or so... until cooked throughout.

Set aside and continue until all pizza dough disks are cooked. (I made 18... six each of the three flavors I mentioned above.) Refrigerate (keeps 3-4 days) or add pizza toppings and cook right away, by putting back on grill until cheese melts or until pizza is heated through.

Suggested toppings to include in your pizza bar:

your favorite pesto or pizza sauce

mozzarella
pepperoni
mushrooms

Canadian bacon
pineapple chunks

spinach
tomatoes 
feta

shredded chicken
bbq sauce
cheddar
green onions

Most importantly, be sure to enjoy thoroughly!


And since the inspiration for this party came from Heather, I'm proud to share this also with:


Tuesday, September 6, 2011

Poblano Macaroni & Cheese: The Homesick Texan Cookbook Cook Off

As I scanned Girlichef's email outlining the assignments for our Homesick Texan Cookbook Spotlight and Cook-Off, I giggled with glee to learn that week two would include a twist on one of my favorite dishes - Macaroni & Cheese.

In one of my earliest posts on my own Mac and Cheese, I waxed poetic for a solid three paragraphs on my personal and family history with this classic American dish. If you want, you can read about it on the link above, however, suffice it to say, should old wives' tales start coming true, "you are what you eat" would have serious macaroni & cheese consequences for me. If you start hearing of people turning into random foods, look for me in the pasta aisle.

The "extra" ingredients that Lisa Fain uses in this fab dish really give it the pop and zing that make this M & C special... and give it true Texas flavor! YUM. I can't put my finger on if it's the cilantro, the lime, the cumin, the poblanos... or a combination of all of the above. Every mouthful brings flavors that burst across your tongue and delight the senses.

Six stars on a four star scale!

Poblano Macaroni & Cheese
adapted from The Homesick Texan Cookbook, page 265


2 poblano chiles
8 oz (2 cups) elbow pasta (I used farfalle)
2 tbsp unsalted butter
4 cloves garlic, minced
2 tbsp all purpose flour
1-1/2 cups whole milk
1 tsp mustard powder
1/4 tsp cayenne
1/2 tsp ground cumin (accidentally used 1 tsp because I looked at the wrong recipe)
1 tsp lime zest
1/2 cup chopped cilantro
salt & black pepper to taste
4 cups grated white cheddar
1/2 cup Cotija cheese

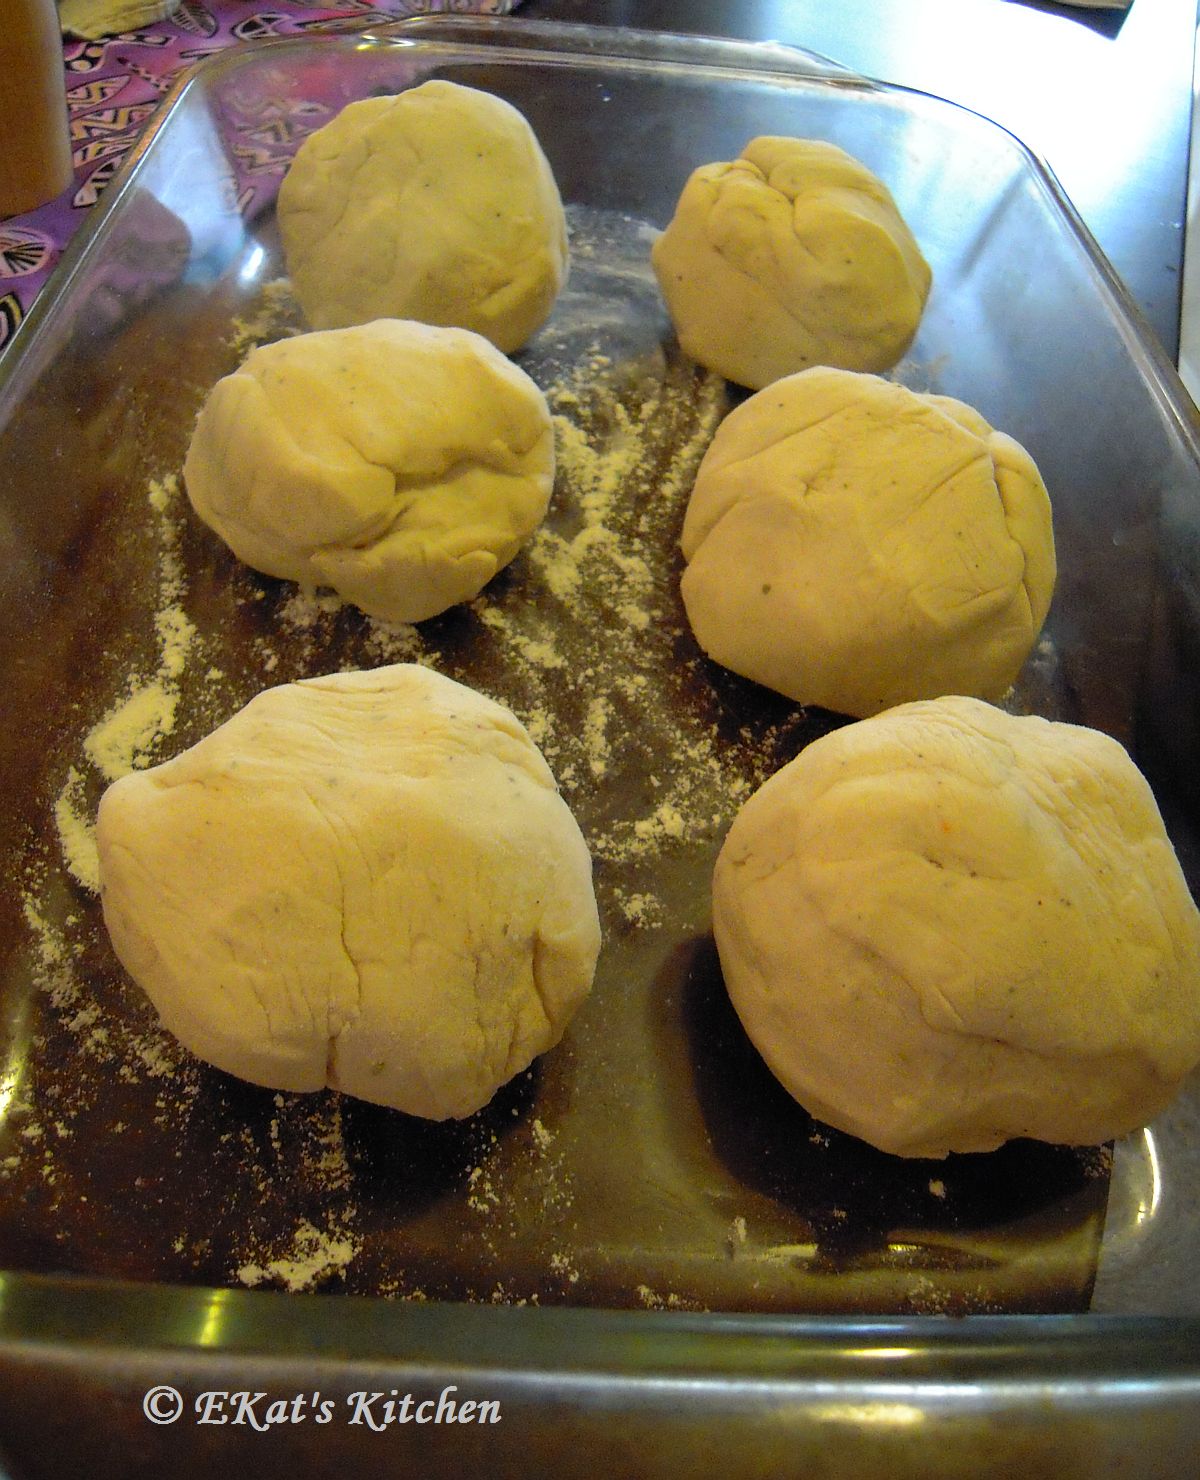
1. Roast the poblano chiles under the broiler until blackened, about 5 minutes per side. Place in a paper sack or plastic food-storage bag, close tightly and allow chiles to steam for 20 minutes. Remove from bag, and rub off skin; then remove the stem and seed, chipping into 2" long pieces.

2. Preheat the oven to 375. Cook pasta according to package directions until al dente; drain and dump into a large greased baking dish.

3. On low heat, melt the butter, then add the garlic, cooking for 1 minute. Add flour, stirring constantly and cook until a light brown paste forms (1 minute). Whisk in the milk and stir until thickened but fluid, then remove from the heat. Stir in remaining seasonings.

4. Add half the cheese and stir until combined into the sauce. (If you need to, return to low heat, but don't allow to get too thick -- adding milk 1 tsp at a time can, however, thin back out.) Pour over pasta and top with remaining half of cheddar. Bake uncovered for 20 minutes or until cheese is browned.


Sprinkle with Cotija and serve. Optional, garnish with a sprig of cilantro.


Until next week, when you learn what Week 3 will bring... a teaser... expect a whole lot of chiles and some red meat!


This post is part of The Homesick Texan Cookbook Spotlight and Cook-Off sponsored by Hyperion and hosted at girlichef.

Check out what some of my collaborators made:

girlichef #1 (#2) - Foodness Gracious (#2) - Kahakai Kitchen - Mangoes and Chutney - Stirring the Pot - EKat's Kitchen - A Platter of Figs - Anchovies and Butter - Sweet Life - Fudge Ripple - Miz Helen's Country Cottage - Bo's Bowl - Creative Kitchen - Rook no. 17 - Life in the Slow Lane at Squirrel Head Manor - Cooking for My Peace of Mind - La Cocina de Leslie (#2) - Nutmeg Nanny - My Year on the Grill

Thursday, May 26, 2011

Happy Memorial Day and Friday Potluck #35

Happy Memorial Weekend!

Memorial Day is an American holiday that, at least historically, signifies remembrance of soldiers who have died in the line of duty, to remember the sacrifices they've made and to ensure that they'll never be forgotten. With my personal connection to the U.S. military, this holiday means more to me each year, but I also feel that we should remember all of those who've gone before us, in every country and culture. I wish you joy, peace and love during this holiday of remembrance.

I also wish those of us who have a long weekend, three (or more!) days full of family, friendship, and celebration... with good food and great times! Maybe you'll find some great recipes to take to those barbecues and parties right here, in the pages of EKat's Kitchen or at Friday Potluck.


Following are some of my favorite ideas for party food that I've had the pleasure of making (successfully) over the last few years.

Brie-Stuffed Buffalo Burgers
Buffalo Chicken Bites
"Cool Ranch" Popcorn
Grilled Baby Bok Choy
Homemade Onion Soup Mix (for Sour Cream & Onion Dip, low sodium)
Jalapeno Artichoke Spinach Dip
Jalapeno PoppersSmoky Baked Beans


Welcome back to Friday Potluck today!

We had a record 92 entries last week! I'm loving all of the fantastic recipes that you all have come up with and shared with bloggy land. I can't wait to see what you bring this week.

It's funny, each week, there seems to be a theme of some kind... completely unplanned and due to chance. Some weeks are "soup weeks," others are "dessert weeks," while still others are "baking" or "fresh" weeks. I always try to guess, and sometimes I'm right, while other times I'm wrong.

Just like telling people your wish before you blow out the candles, it seems as though it might jinx my prediction for this week. However, I'll hazard a guess that the theme is going to be cookout and finger food this week. This by no means is a guideline, just for my own personal entertainment. Time to sit back and wait... to watch and see.

Happy Potlucking.

grab the code!


As always, there are just a few rules, but they're super duper simple!

1. Link directly to your recipe (not your main blog).
2. Only one recipe per blog each week.
3. Be sure, in the linked blog post, to link back here to Friday Potluck @ EKat's Kitchen using the button above or text.
4. Have fun, do some visiting and enjoy!

(Friday Potluck is open Thursday night until Sunday night)


This linky list is now closed.

ShareThis

Related Posts with Thumbnails